February 17, 2020 by admin
InDesign Tutorials – Moby- Dick
Read the Full Tutorial Here
How to Design a Classic Book Cover With a Modern Twist!
Redesigning covers for classic and beloved novels is big business in publishing. A well-tuned redesign can help a book reach new audiences across different generations and demographics.
In this tutorial, we’ll dip a toe into the world of classic covers and create a redesigned cover for Moby Dick that’s modern, stylish and surprisingly easy to recreate in Adobe InDesign and Adobe Illustrator.
This is a great tutorial for beginners to InDesign looking to learn more about book cover design and publishing design.
1. What Are Redesigned Book Covers?
Before we delve into designing our cover for Moby Dick, let’s take a moment to consider what a redesigned cover is and why publishers invest money in commissioning redesigns.
Some novels are long-standing classics and have remained well-loved favorites for centuries or decades. Think of Jane Austen’s Pride & Prejudice, Emily Brontë’s Wuthering Heights, F. Scott Fitzgerald’s The Great Gatsby, or Harper Lee’s To Kill a Mockingbird. These novels have earned a firm place in the annals of literature, but sometimes younger generations either won’t have encountered these classic stories, or have the perception that they are stuffy, outdated or difficult to read.
Publishers introduce redesigned covers for classic novels periodically to inject them with fresh marketing potential and entice a new demographic of readers.
In many ways, redesigning covers for classic books is one of the most interesting, but also most difficult, processes a cover designer will encounter in their career. Their covers must do justice to the original spirit and themes of the book, while giving it a design that’s got a distinctly modern appeal.
In this tutorial we’ll look at giving Herman Melville’s Moby Dick or “The Whale” a modern makeover. I’ve tried to recreate the mood and theme of the book, with a silhouette of the white sperm whale from the story.
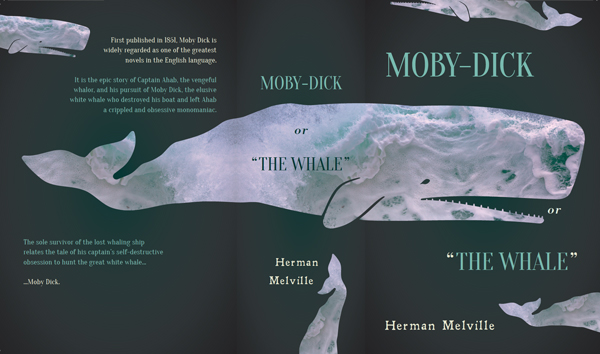
You’ll learn how to set up a paperback version of the cover in Adobe InDesign and create a collage effect with the help of Adobe Illustrator. We’ll bring in a bit of vintage-style typography too, to give the cover an appropriately 19th Century nod.
This design style can be adapted to all sorts of covers—just switch up the silhouette and inside image, as in this cover design for War & Peace.

Ready to get redesigning? Great! Let’s go…
2. Set Up the Cover Template in Adobe InDesign
Step 1
Open up Adobe InDesign.
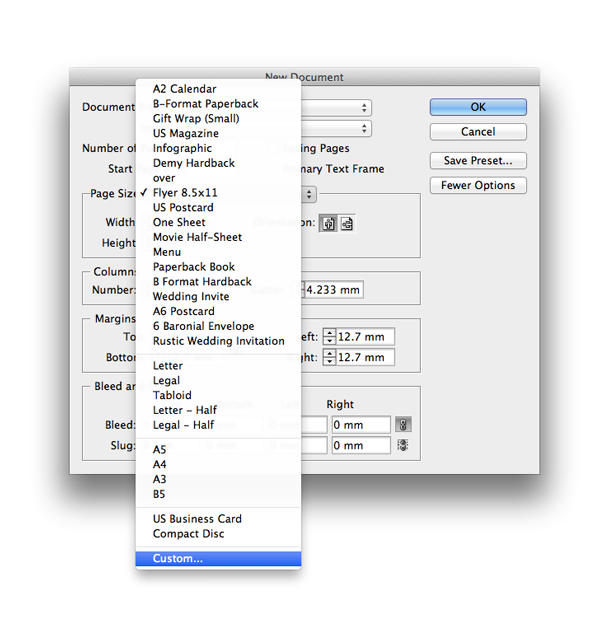
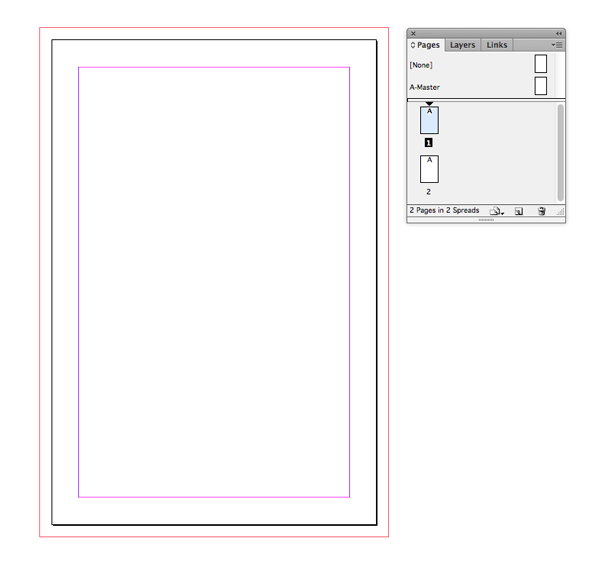
Go to File > New > Document, and set the Intent of the document to Print. Increase the Number of Pages to 2 and deselect Facing Pages. From the Page Size menu, choose Custom.
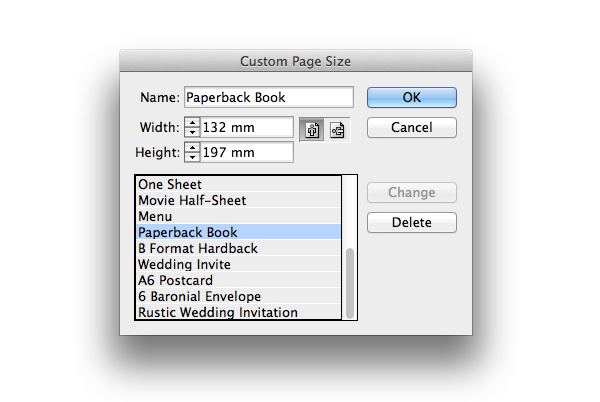
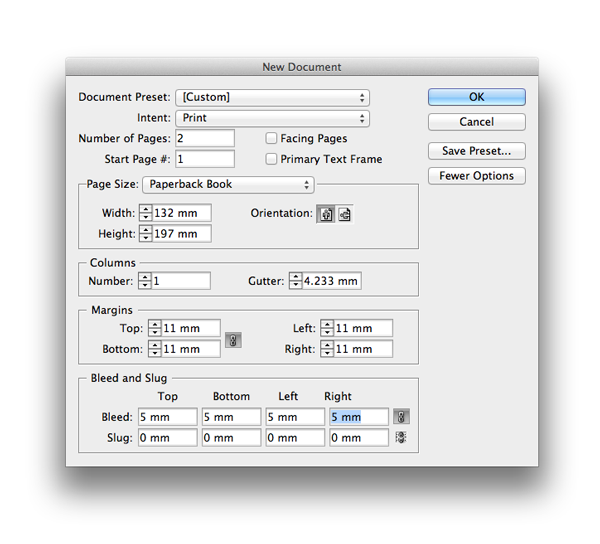
Name the custom size Paperback Book, and set the Width to 132 mm and Height to 197 mm. Click Add and then OK to return to the New Document window.
Step 2
Set the Margins on all sides to 11 mm and the Bleed to 5 mm. Click OK to create the new document.
We’ll work on the front cover design on Page 1—it’s always much easier to work on the front cover design alone at first. Then, a bit later, we’ll expand Page 2 of the document into the full cover, complete with spine and reverse, with the help of the Page Tool.
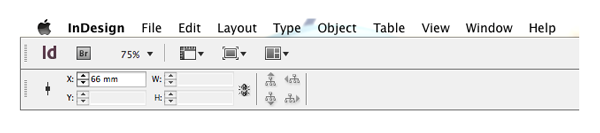
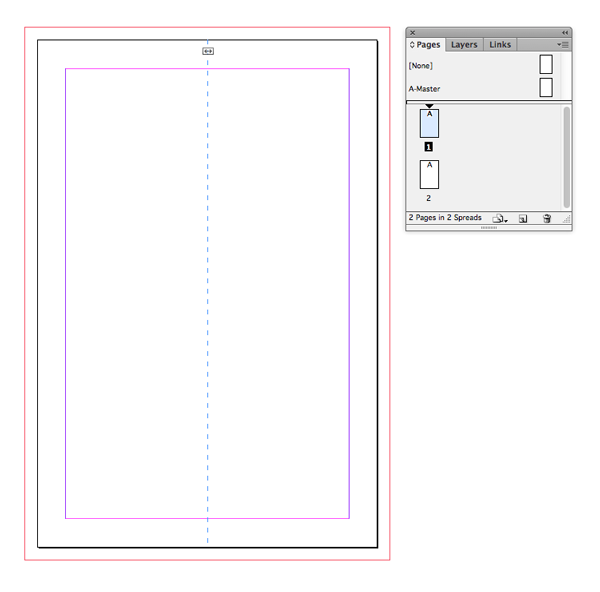
Step 3
With the rulers visible (View > Show Rulers) click and drag a guide out from the left-hand ruler and drop it onto Page 1 at X position 66 mm, which marks the center point of the page.
3. Create a Seaworthy Backdrop
To recreate the murky, mysterious ocean setting of Moby Dick, we can give the whole cover a sea-green backdrop. Adding a gradient to the swatch will give the cover a bit more depth and interest.
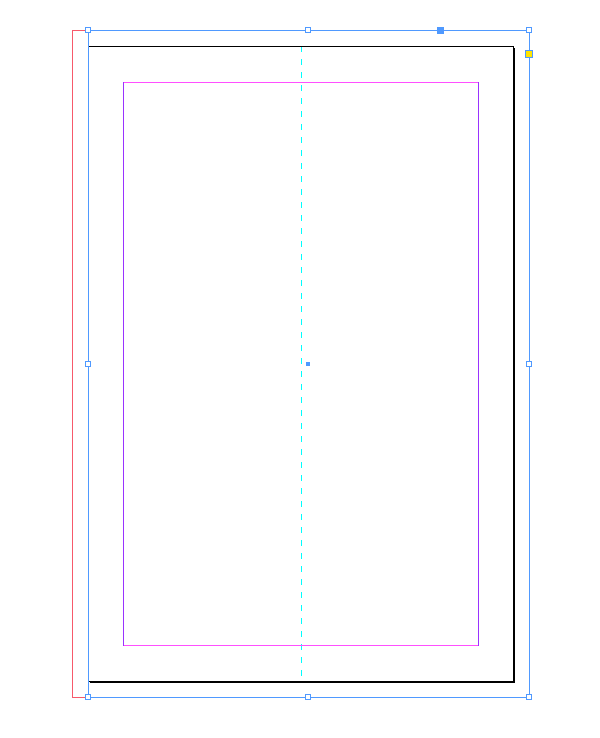
Step 1
Take the Rectangle Tool (M) and drag onto Page 1, across the whole page, extending up to the edges of the bleed on the top, right and bottom edges of the page. On the left edge, just extend to the edge of the page, not all the way to the bleed.
Step 2
Expand or open the Swatches panel (Window > Color > Swatches).
From the panel’s drop-down menu, choose New Gradient Swatch.
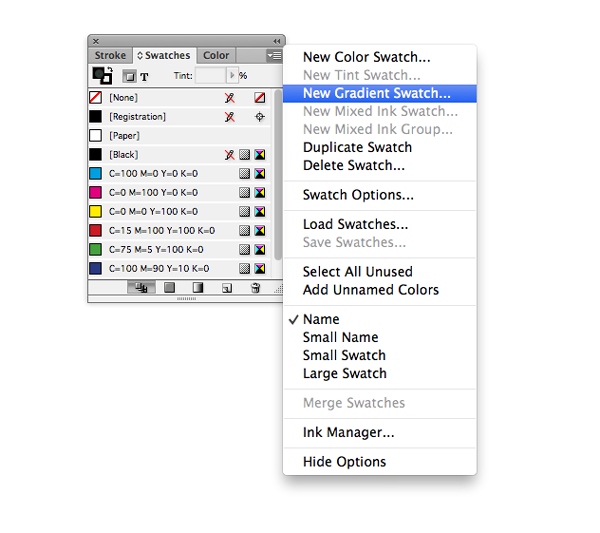
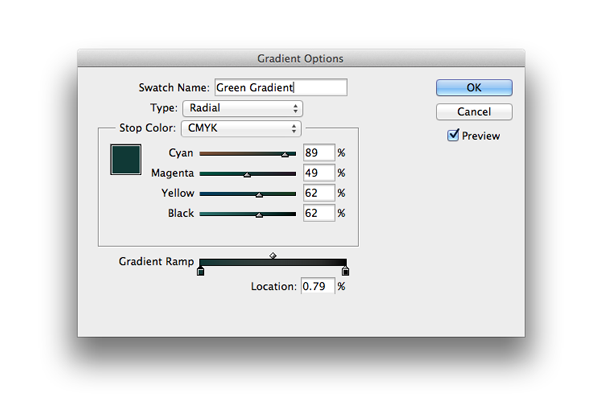
Name the swatch Green Gradient and set the Type to Radial.
Move down to the Gradient Ramp and click on the left-hand stop to be able to edit it. Choose CMYK for the Stop Color and set the levels to C=89 M=49 Y=62 K=62.
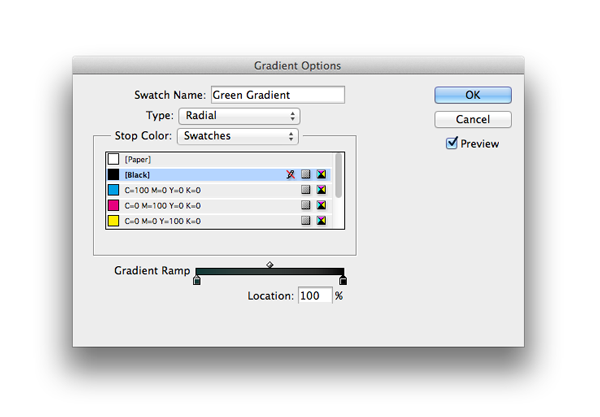
Click on the right-hand stop and adjust the Stop Color to Swatches. Choose [Black] from the list below. Click OK.
Step 3
Apply the Green Gradient swatch to the Fill Color of the rectangle shape.
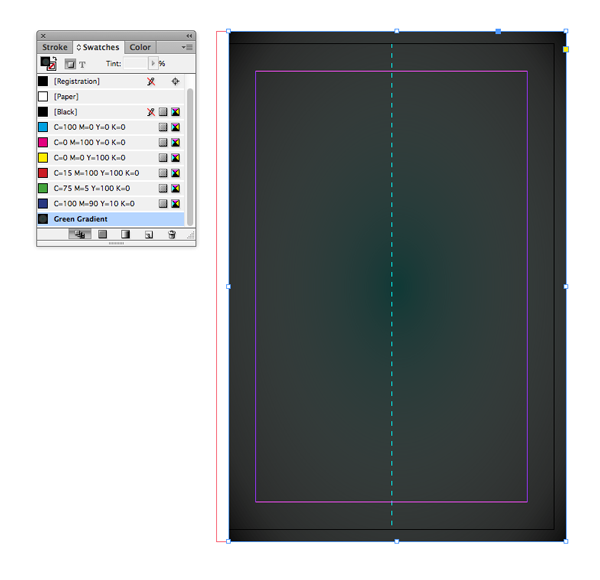
This will apply a lovely subtle gradient to the background of our front cover.